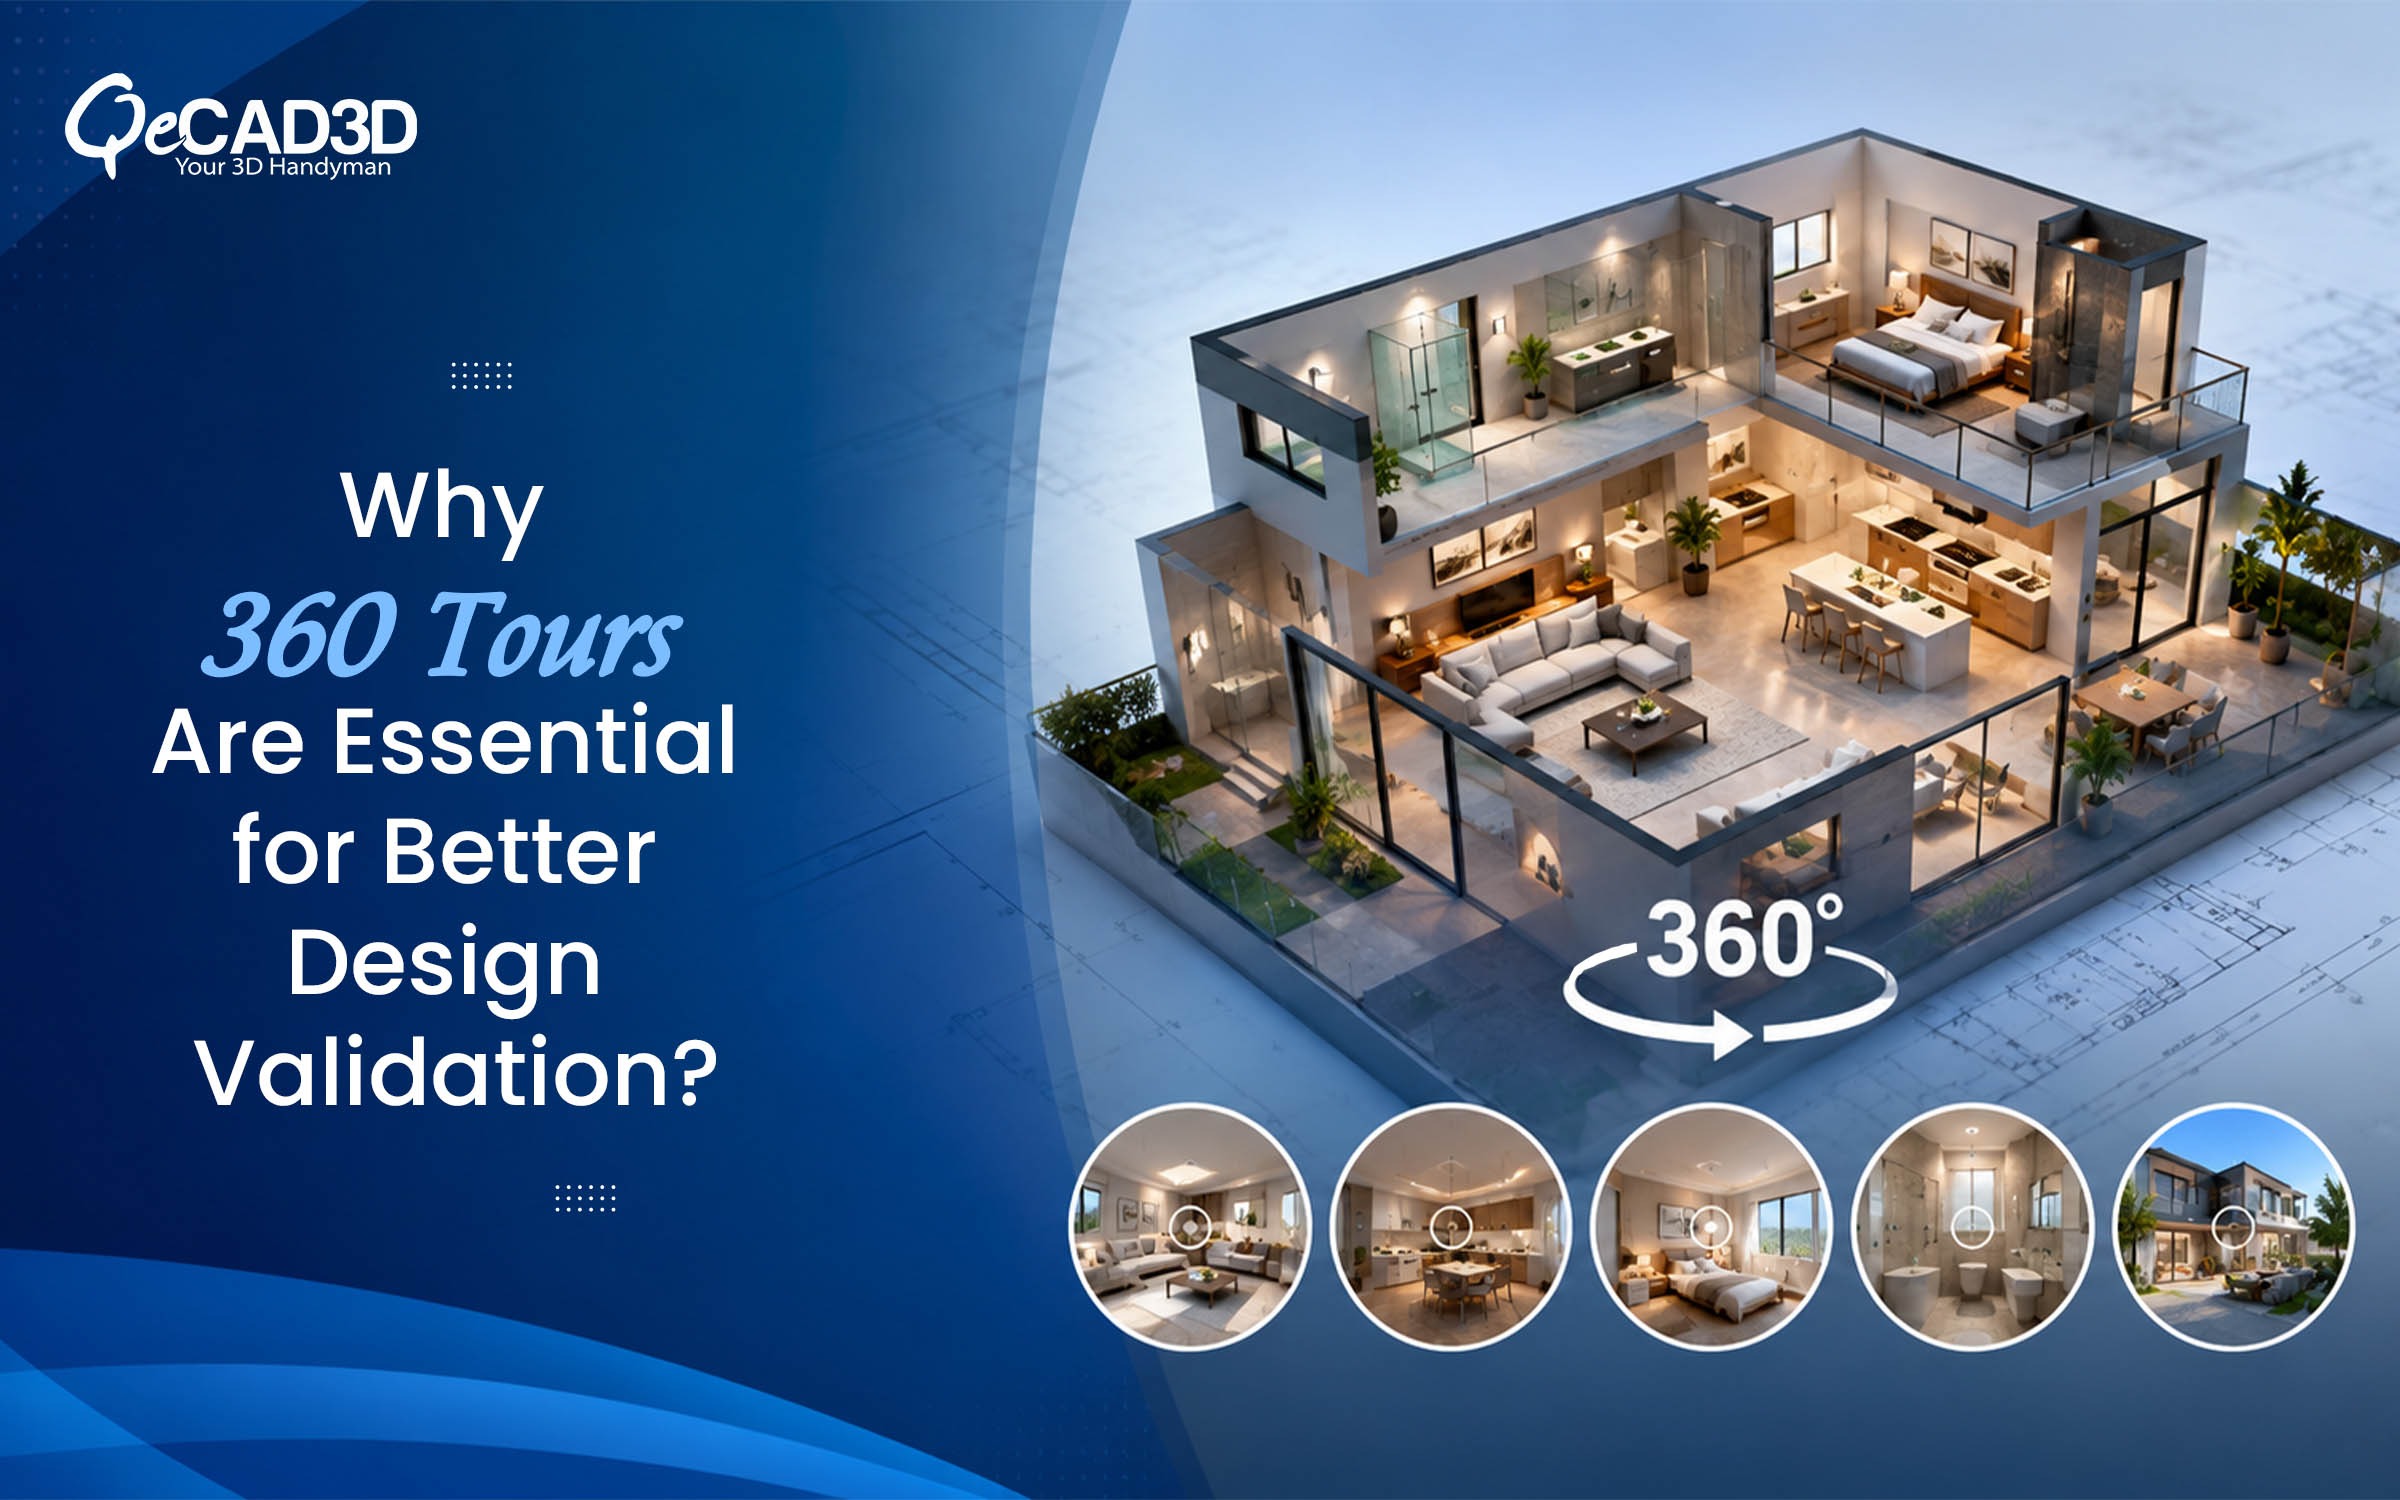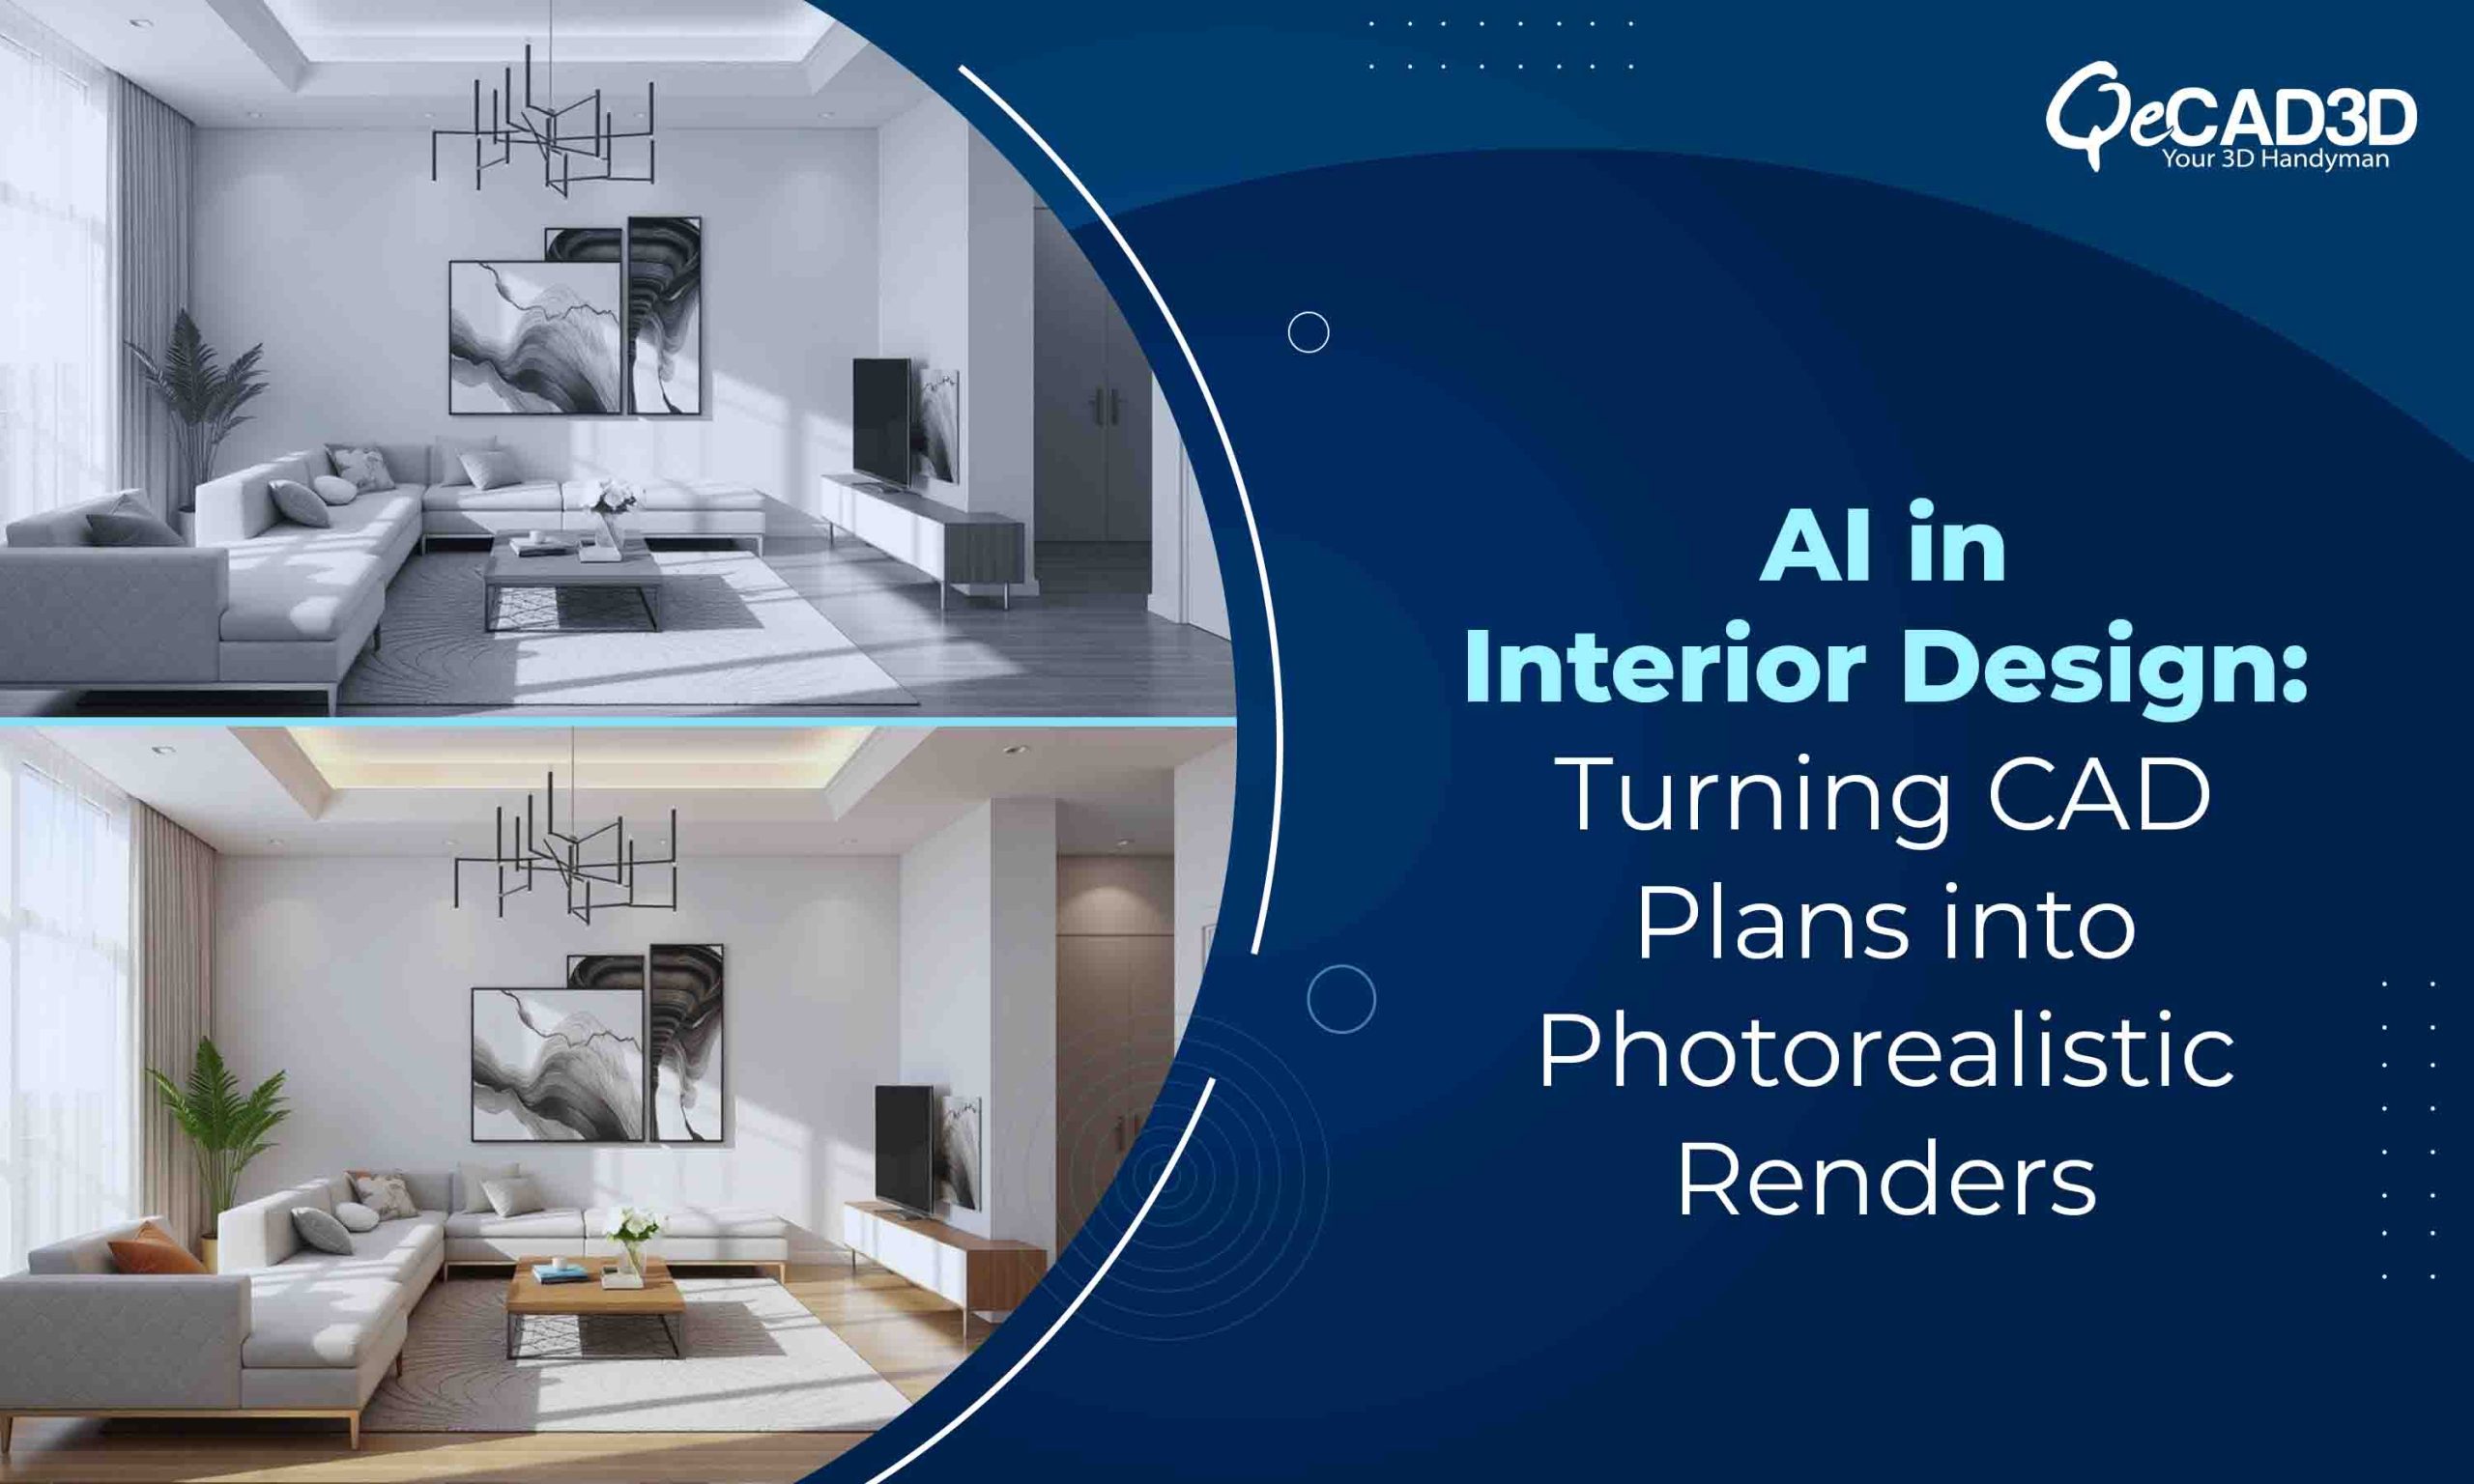
AI in Interior Design: Turning CAD Plans into Photorealistic Renders
The world of interior visualization is undergoing a massive transformation. What once took days of manual setup, lighting and rendering now happens in minutes — all thanks to AI. Designers, architects and visualization professionals can now move seamlessly from the CAD plans to hyper-realistic visuals, streamlining the design communication and client approvals.
Here’s how the modern interior visualization workflow unfolds — from a simple CAD drawing to a stunning, photorealistic render powered by AI.
1) The Starting Point: CAD Plans and 3D Models
Every visualization journey begins with a foundation that is your CAD drawings or 3D models.
These files contain precise measurements, layouts and architectural details essential for the visual accuracy.
The Common inputs includes:
- Floor plans, elevations along with the sections
- 3D models from Revit, AutoCAD, SketchUp or Rhino
- Material callouts and lighting specifications
The clean and well-organized CAD data ensures the smooth transitions to visualization tools. Proper layering, accurate scaling along with the geometry cleanup helps the AI to interpret the designs efficiently at the later stages. This structured approach is the first step towards delivering the 3D Visualization Services that are both accurate and immersive.
2) Importing into AI-Powered Visualization Platforms
Once the CAD data or 3D model is ready, it is imported into the AI-driven visualization tools such as Fenestra, MyArchitectAI, MNML.AI or Interior AI Render.
These platforms automates the traditionally time-consuming steps:
- Automatic 3D reconstruction from 2D plans
- Material and lighting recognition
- Instant style transfer based on the reference images
- Cloud-based rendering that frees you from hardware limitations
By interpreting your input intelligently, these AI tools can generate the initial renders in seconds thereby providing the multiple style and lighting options instantly.
3) Defining Materials, Lighting, and Ambience
At this stage, the creative layer begins to unfold.
AI tools lets you:
- Choose from the extensive material libraries (wood, marble, glass, fabric, etc.)
- Simulate natural and artificial lighting based on the time, weather or ambience
- Apply style presets — modern, Scandinavian, minimalist, boho, etc.
AI helps to adjust the light reflections, shadows as well as the mood automatically hence bringing your interior scene to life much faster than the traditional setups.
4) Generating First Draft Renders
Once the materials and lighting are applied, the system generates the multiple variations.
With this the Designers can:
- View the space from different camera angles
- Compare the lighting moods (day vs dusk)
- Swap the materials to visualize the alternatives
AI tools like MyArchitectAI can produce 4K renders in under a minute drastically reducing the revision cycles and boosting the creative flexibility. This step forms the core of the advanced Interior Rendering Services that gives the clients some realistic previews of their spaces before the final execution.
5) Feedback and Refinement
After initial renders are reviewed, feedback is integrated quickly.
AI systems enables the localized edits, meaning you can:
- Replace materials (e.g., wall color or flooring)
- Modify lighting without re-rendering the entire scene
- Instantly update based on the client inputs
This iterative process ensures quite faster approval timelines and more refined visuals without even restarting from the scratch.
6) Final Render and Post-Processing
The final render phase produces the high-resolution, photorealistic visuals ready for the client presentations or even for the marketing use.
The post-processing tools like Photoshop or Luminar can further enhance:
- Depth of field
- Contrast and tone balance
- Background compositing or decor additions
AI-assisted renderers often includes the virtual staging and contextual placement —adding people, props or even the exterior views automatically for the added realism.
Traditional Rendering vs. AI Rendering
Here’s a quick comparison between traditional visualization workflows and AI-powered rendering approaches:
| Aspect | Traditional Rendering | Rendering Using AI |
| Setup Time | Requires manual setup of materials, lightings and camera angles (hours to days) | Automated setup with AI recognition and instant scene configuration (minutes) |
| Hardware Requirement | High-end workstation or GPU needed | Cloud-based; runs smoothly on mid-range systems |
| Skill Dependency | Requires expert knowledge of rendering engines like V-Ray, Corona or Lumion | Intuitive; minimal technical expertise needed |
| Render Speed | 30 mins to several hours per image | Seconds to a few minutes |
| Lighting & Material Accuracy | Manual tweaking for realism | AI auto-adjusts the lightings, reflections and even the textures intelligently |
| Iteration Time | Re-rendering needed for each change | Real-time or near-instant updates |
| Cost Efficiency | High (software licenses, hardware, time) | Cost-effective with subscription-based cloud AI tools |
| Output Quality | High realism with the manual fine-tuning | High realism with the automated optimization |
| Creative Flexibility | Limited by time and render capacity | Multiple variations in minutes |
| Learning Curve | Steep learning curve | Beginner-friendly and guided by prompts or the presets |
Best Practices for AI-Driven Visualization
Even with AI, maintaining the workflow discipline ensures the quality consistency:
- Start with accurate CAD and clean geometry
- Use real-world material references for better texture interpretation
- Maintain consistent lighting sources across the scenes
- Review for realism: check reflections, proportion and the scale
- Keep the client communication open to align the creative direction
Summary Workflow
| Stage | Action | Output |
| CAD/3D Model Prep | Develop base files in the AutoCAD/Revit/SketchUp | Clean and structured geometry |
| Import to AI Tool | Upload and apply style presets | Auto-generated 3D environment |
| Material & Lighting Definition | Choose textures, lighting conditions | Realistic ambience setup |
| AI Rendering | Generate multiple versions instantly | Draft renders for review |
| Refinement | Local edits and style adjustments | Polished final look |
| Post-Processing | Color correction and enhancement | Final photorealistic visuals |
Conclusion
AI is not just accelerating the rendering — it’s changing the creative process altogether.
From interpreting CAD data to producing the immersive 3D environments, AI eliminates the technical barriers and empowers the designers to visualize the spaces with the unmatched speed and precision.
For firms like QeCAD3D, this evolution means faster delivery, improved visualization accuracy and enhanced collaboration between the architects, designers and clients. As AI tools become more integrated with BIM and CAD ecosystems, the gap between the design and visualization will continue to narrow thereby making the journey from the plan to the photoreal quite smoother than ever before.
By combining the traditional expertise with AI-driven innovations, the businesses can now offer 3D Visualization Services and Interior Rendering Services that are faster, more cost-effective and visually stunning — ultimately elevating the client satisfaction and the design impact.